Getting Started with Analytics SDK for React
Step 1 - Create the React App
1 - Open your favorite terminal
2 - Create a new React application using the "create-react-app" command
> npx create-react-app getting-started --template typescript
3 - Change directories into the newly created app directory and open the project in your favorite Editor. In this example, we are using Visual Studio Code.
> cd getting-started
> code .
Step 2 - Add Analytics JavaScript API
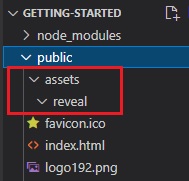
1 - Expand the public folder and create a new folder called assets. Now, create another folder called reveal within the assets folder.
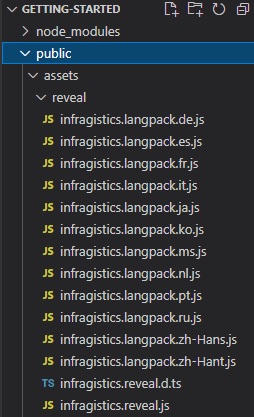
2 - Copy all the Javacript files located at %public%/Documents/Infragistics/Analytics/SDK/Web/JS/Client into the assets/reveal folder you created previously.
3 - Open and modify the index.html file to include the infragistics.reveal.js script at the bottom of the page just before the closing </body> tag.
<script src="assets/reveal/infragistics.reveal.js"></script>
4 - Install the remaining Analytics JavaScript API dependencies:
- Jquery 2.2 or greater
<script src="https://cdn.jsdelivr.net/npm/jquery@3.6.0/dist/jquery.min.js"></script>
- Day.js 1.8.15 or greater
<script src="https://unpkg.com/dayjs@1.8.21/dayjs.min.js"></script>
- Quill RTE 1.3.6 or greater
<link href="https://cdn.quilljs.com/1.3.6/quill.snow.css" rel="stylesheet" type="text/css">
<script src="https://cdn.quilljs.com/1.3.6/quill.min.js"></script>
- Spectrum v 1.8.0 or newer (Optional) - this is only needed if you enable the UI for the end user to set the background color for a particular visualization.
<link href="https://cdnjs.cloudflare.com/ajax/libs/spectrum/1.8.0/spectrum.min.css" rel="stylesheet" type="text/css" >
<script src="https://cdnjs.cloudflare.com/ajax/libs/spectrum/1.8.0/spectrum.min.js"></script>
The final index.html files should look similar to this:
<!DOCTYPE html>
<html lang="en">
  <head>
    <meta charset="utf-8" />
    <link rel="icon" href="%PUBLIC_URL%/favicon.ico" />
    <meta name="viewport" content="width=device-width, initial-scale=1" />
    <meta name="theme-color" content="#000000" />
    <meta
      name="description"
      content="Web site created using create-react-app"
    />
    <link rel="apple-touch-icon" href="%PUBLIC_URL%/logo192.png" />
    <!--
      manifest.json provides metadata used when your web app is installed on a
      user's mobile device or desktop. See https://developers.google.com/web/fundamentals/web-app-manifest/
    -->
    <link rel="manifest" href="%PUBLIC_URL%/manifest.json" />
    <!--
      Notice the use of %PUBLIC_URL% in the tags above.
      It will be replaced with the URL of the `public` folder during the build.
      Only files inside the `public` folder can be referenced from the HTML.

      Unlike "/favicon.ico" or "favicon.ico", "%PUBLIC_URL%/favicon.ico" will
      work correctly both with client-side routing and a non-root public URL.
      Learn how to configure a non-root public URL by running `npm run build`.
    -->
    <link href="https://cdn.quilljs.com/1.3.6/quill.snow.css" rel="stylesheet" type="text/css">
    <title>React App</title>
  </head>
  <body>
    <noscript>You need to enable JavaScript to run this app.</noscript>
    <div id="root"></div>
    <!--
      This HTML file is a template.
      If you open it directly in the browser, you will see an empty page.

      You can add webfonts, meta tags, or analytics to this file.
      The build step will place the bundled scripts into the <body> tag.

      To begin the development, run `npm start` or `yarn start`.
      To create a production bundle, use `npm run build` or `yarn build`.
    -->
    <script src="https://cdn.jsdelivr.net/npm/jquery@3.6.0/dist/jquery.min.js"></script>
    <script src="https://unpkg.com/dayjs@1.8.21/dayjs.min.js"></script>
    <script src="https://cdn.quilljs.com/1.3.6/quill.min.js"></script>
    <script src="assets/reveal/infragistics.reveal.js"></script>
  </body>
</html>
Step 3 - Initialize the Analytics view
1 - Open and modify the src/app.tsx file. Delete all the contents within the return statement and add a new <div> tag and set the id to revealView.
function App() {
  return (
    <div id="revealView" style={{height: "100vh", width: "100%"}}></div>
  );
}
2 - First, we need to make sure that we can use jQuery by declaring a new variable named $, of type any, at the top of the file just under the import statements. This will make sure TypeScript will compile our JavaScript.
declare let $: any;
3 - Within the App() function component, initialize the revealView.
  $.ig.AnalyticsSdkSettings.ensureFontsLoadedAsync().then(() => {
    var revealView = new $.ig.AnalyticsView("#revealView");
  });
This JavaScript code first calls the $.ig.AnalyticsSdkSettings.ensureFontsLoadedAsync to ensure that all fonts have been properly loaded. Next, we instaniate a new instance of the AnalyticsView by creating a new $.ig.AnalyticsView and passing in the #revealView selector.
The final index.html file should look like this:
import React from 'react';
import logo from './logo.svg';
import './App.css';

declare let $: any;

function App() {

  $.ig.AnalyticsSdkSettings.ensureFontsLoadedAsync().then(() => {
    var revealView = new $.ig.AnalyticsView("#revealView");
  });

  return (
    <div id="revealView" style={{height: "100vh", width: "100%"}}></div>
  );
}

export default App;
Important
Clients apps must set the $.ig.AnalyticsSdkSettings.setBaseUrl("url-to-server"); to the server address hosting the dashboards if the client is being hosting on a different URL.
Step 4 - Run the Application
In the Visual Studio Code terminal, type the npm start command
> npm start
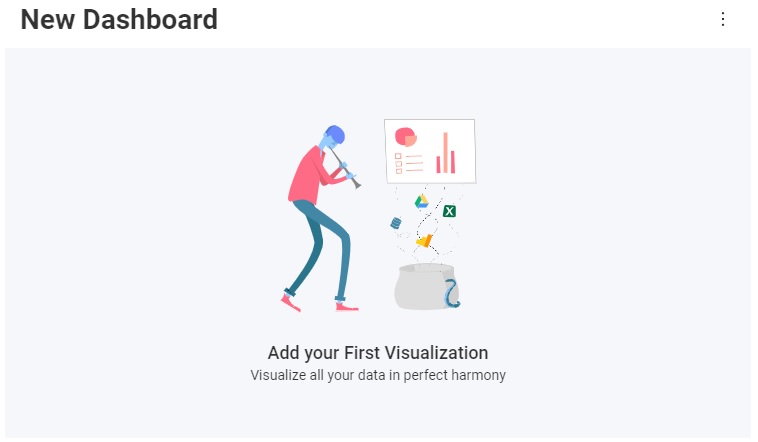
Congratulations! You have written your first Analytics SDK React application.
Next Steps:
Note
The source code to this sample can be found on GitHub.